Intro
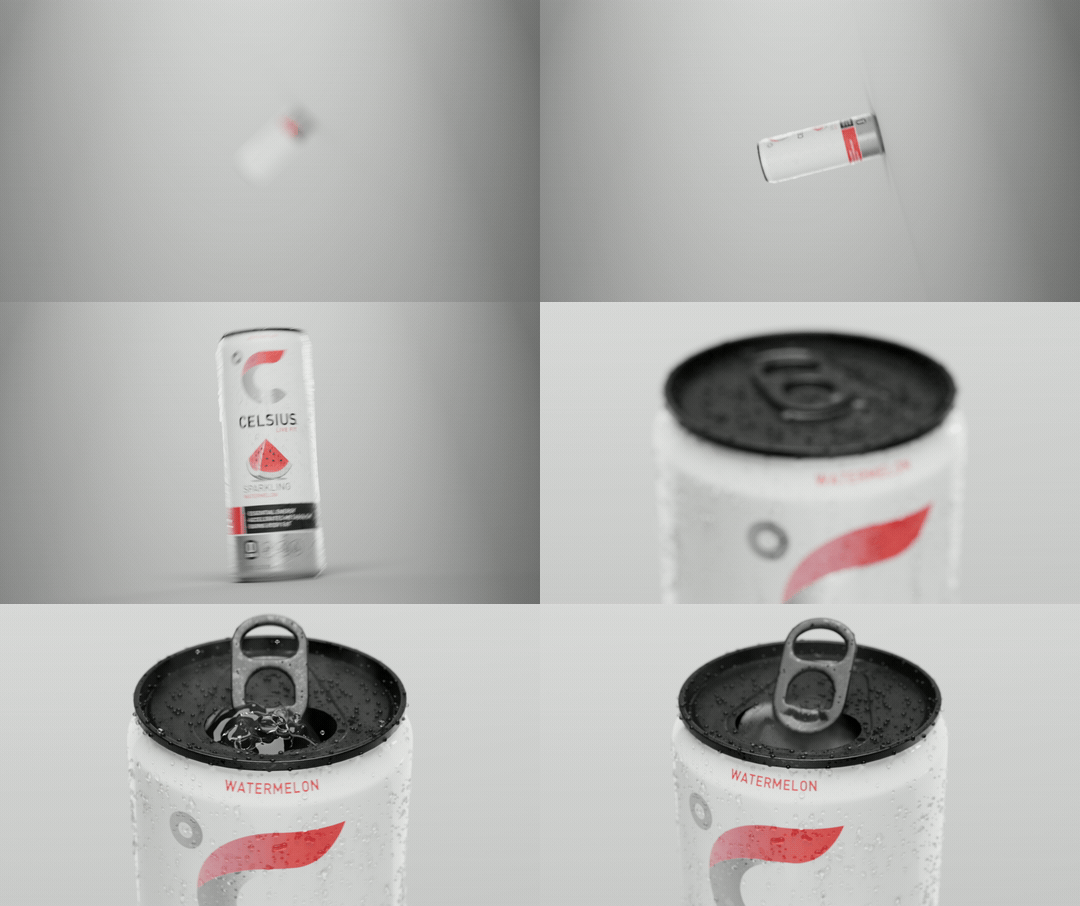
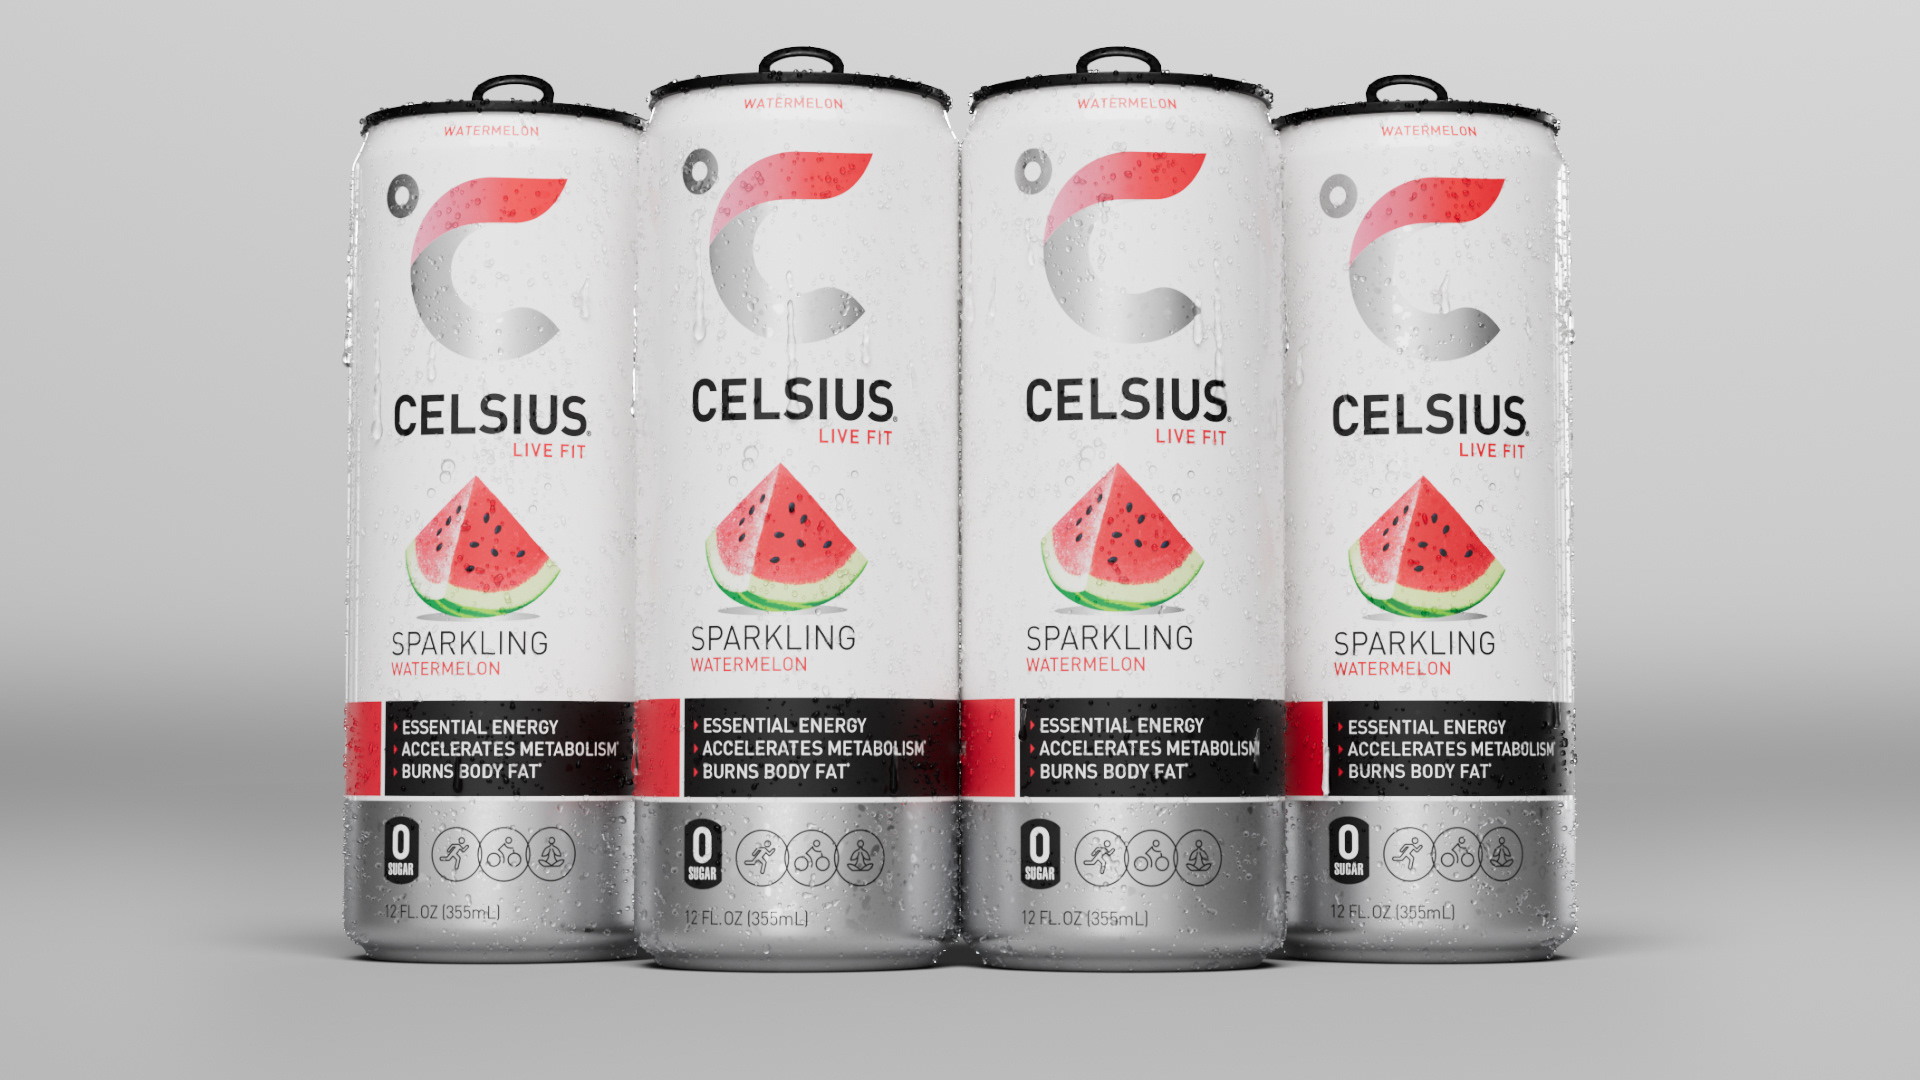
I've been working at Celsius designing 3D motion and product visualization animations. My goal was to create appealing visuals of the the Celsius product line put into motion. Celsius has a large product line with a ton of different flavors and labels specific to international products, it's very difficult to shoot so many products on video exclusively, so 3D rendering becomes an excellent method for developing versatile assets and handling the versioning required.
The motion I've design always ends up being used all over: for social media, in arenas and stadiums, as digital signage inside grocery and convenience stores, and in busy places like Times Square and the Las Vegas Strip. In my first year I handled about 200 different creative projects for the brand.
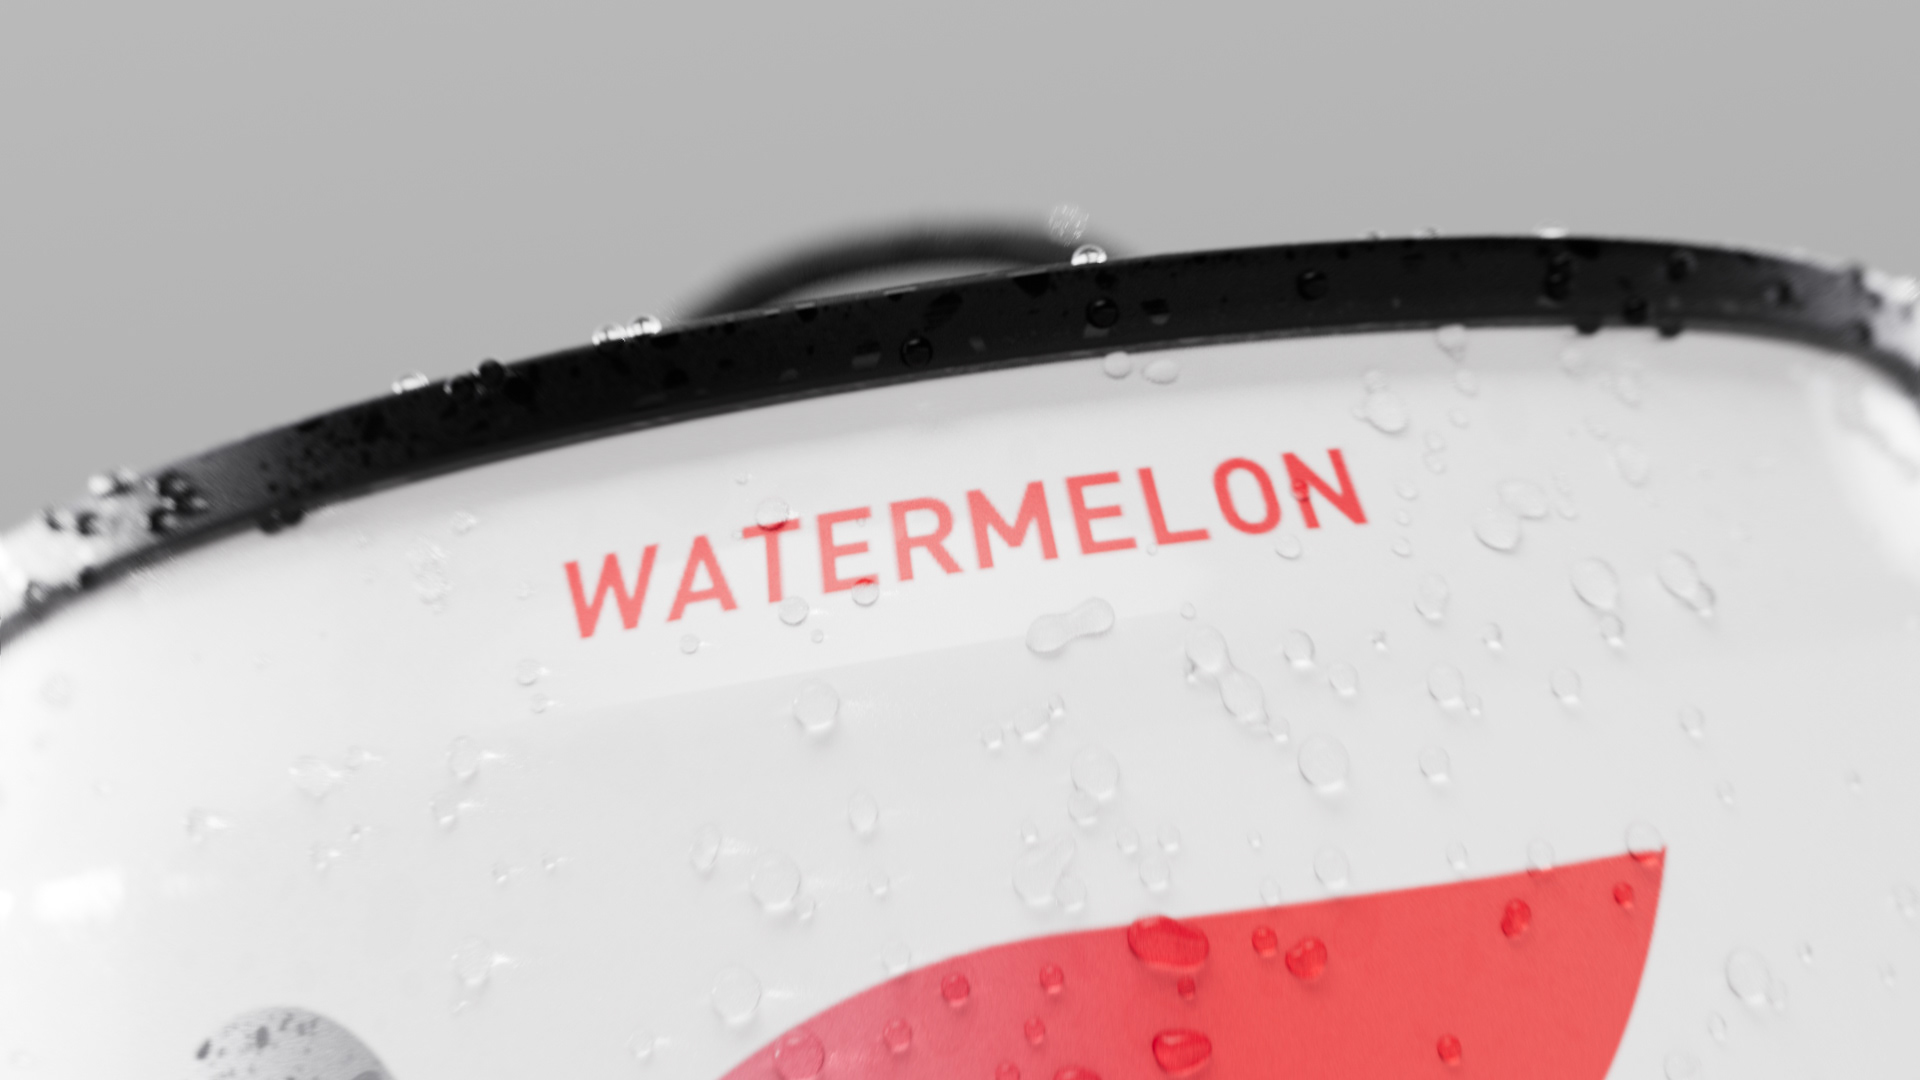
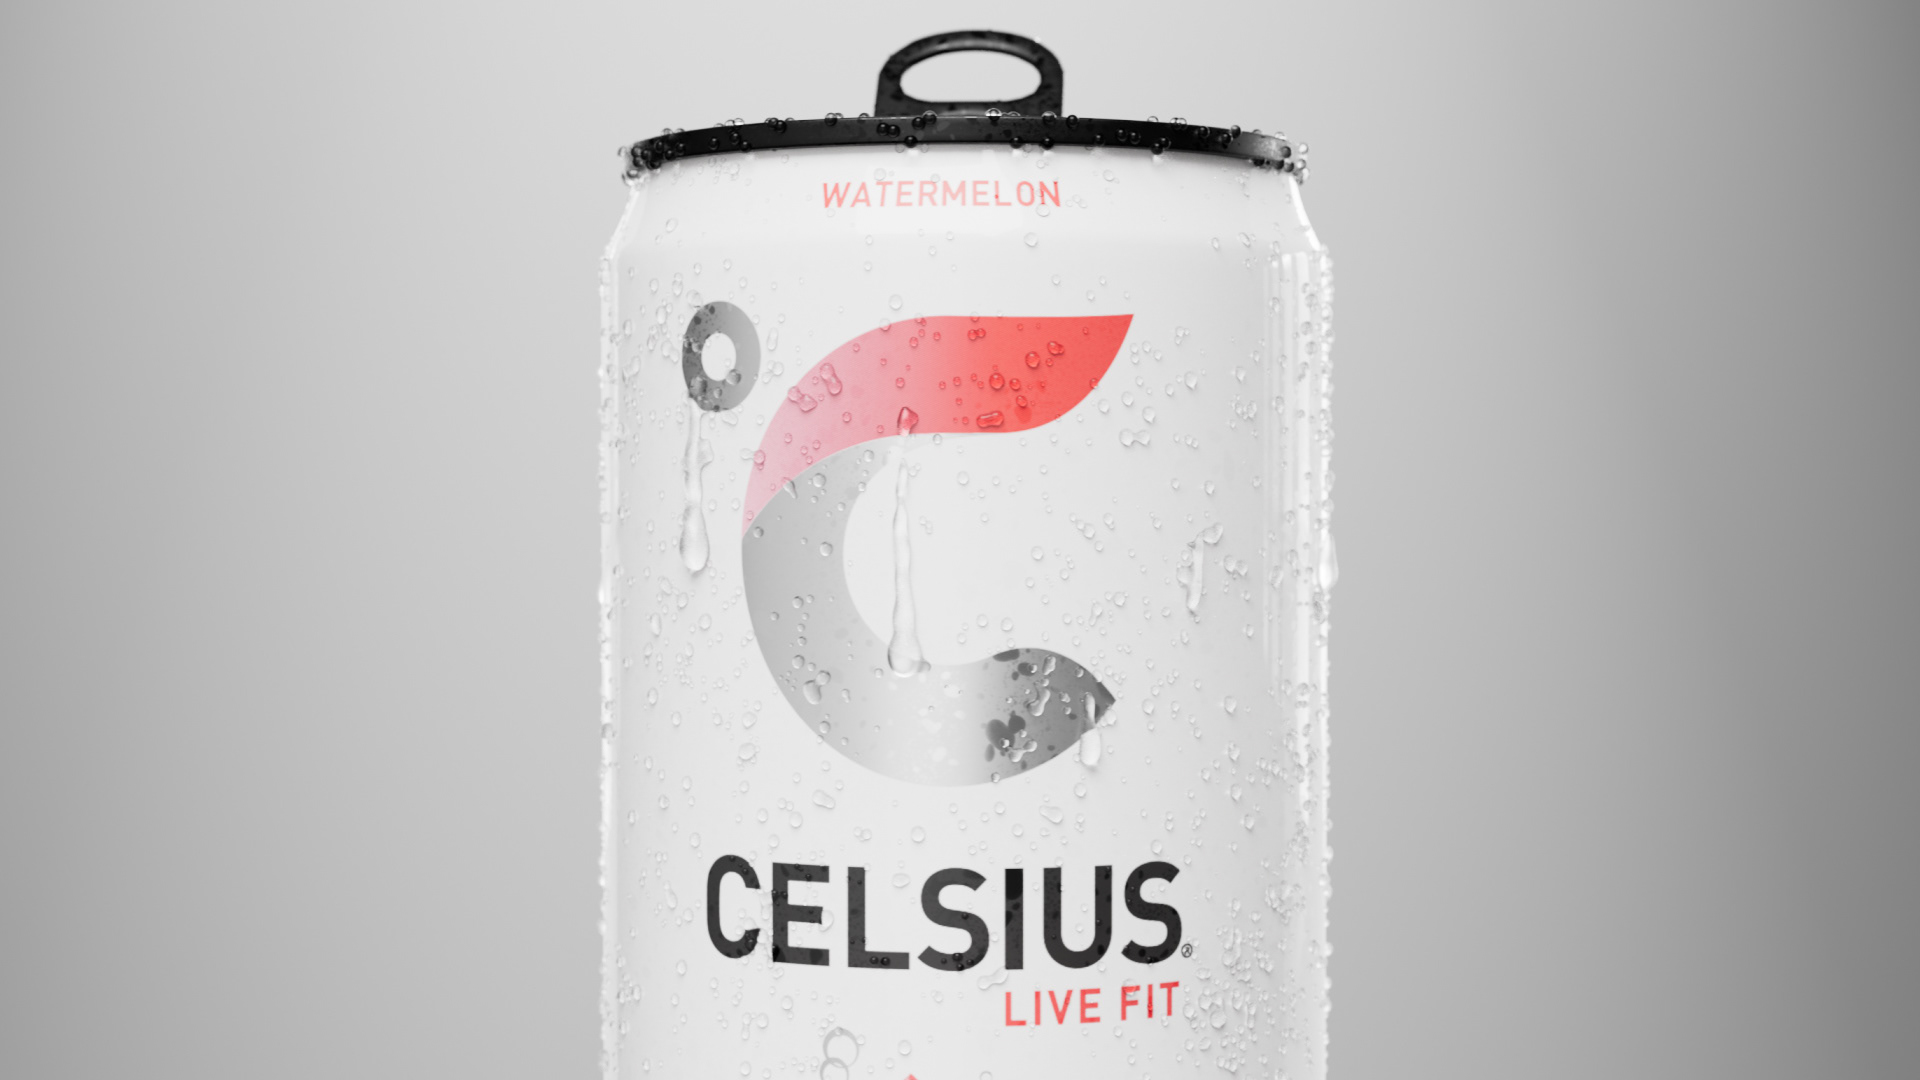
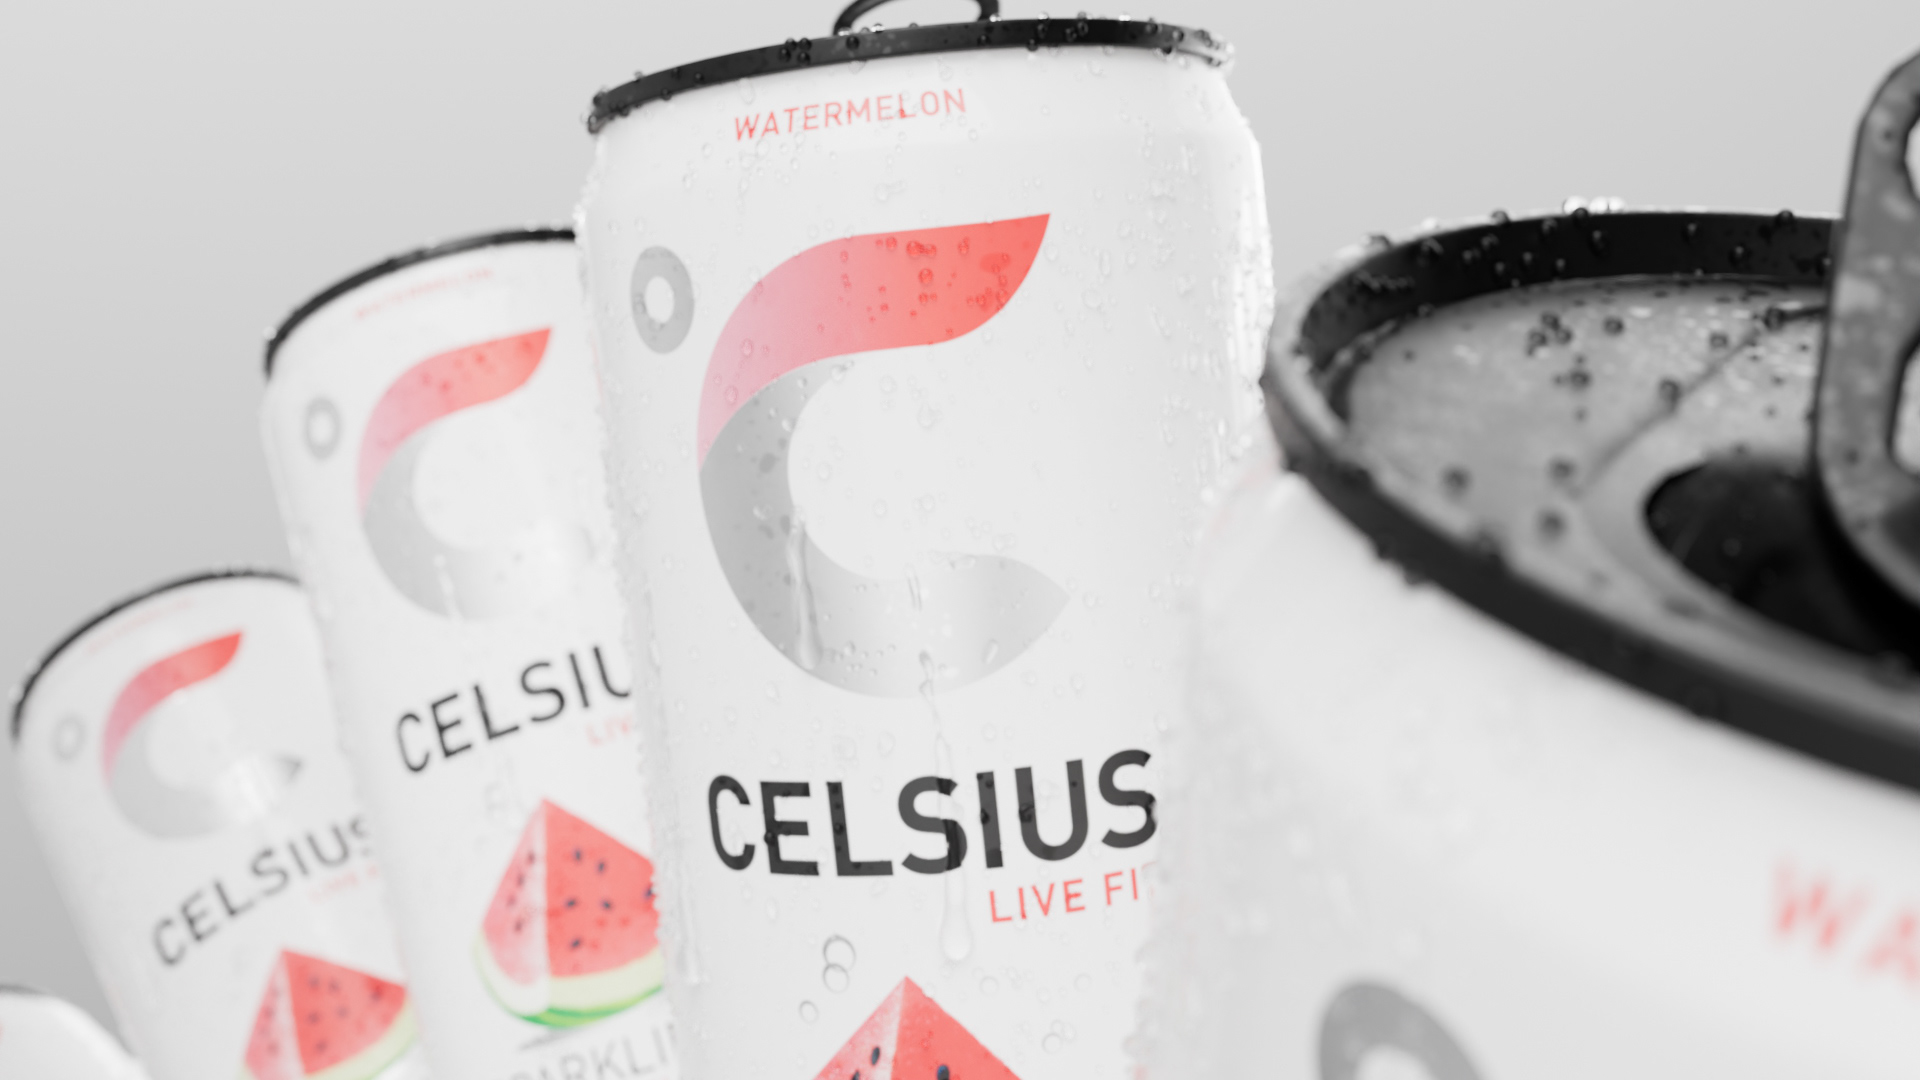
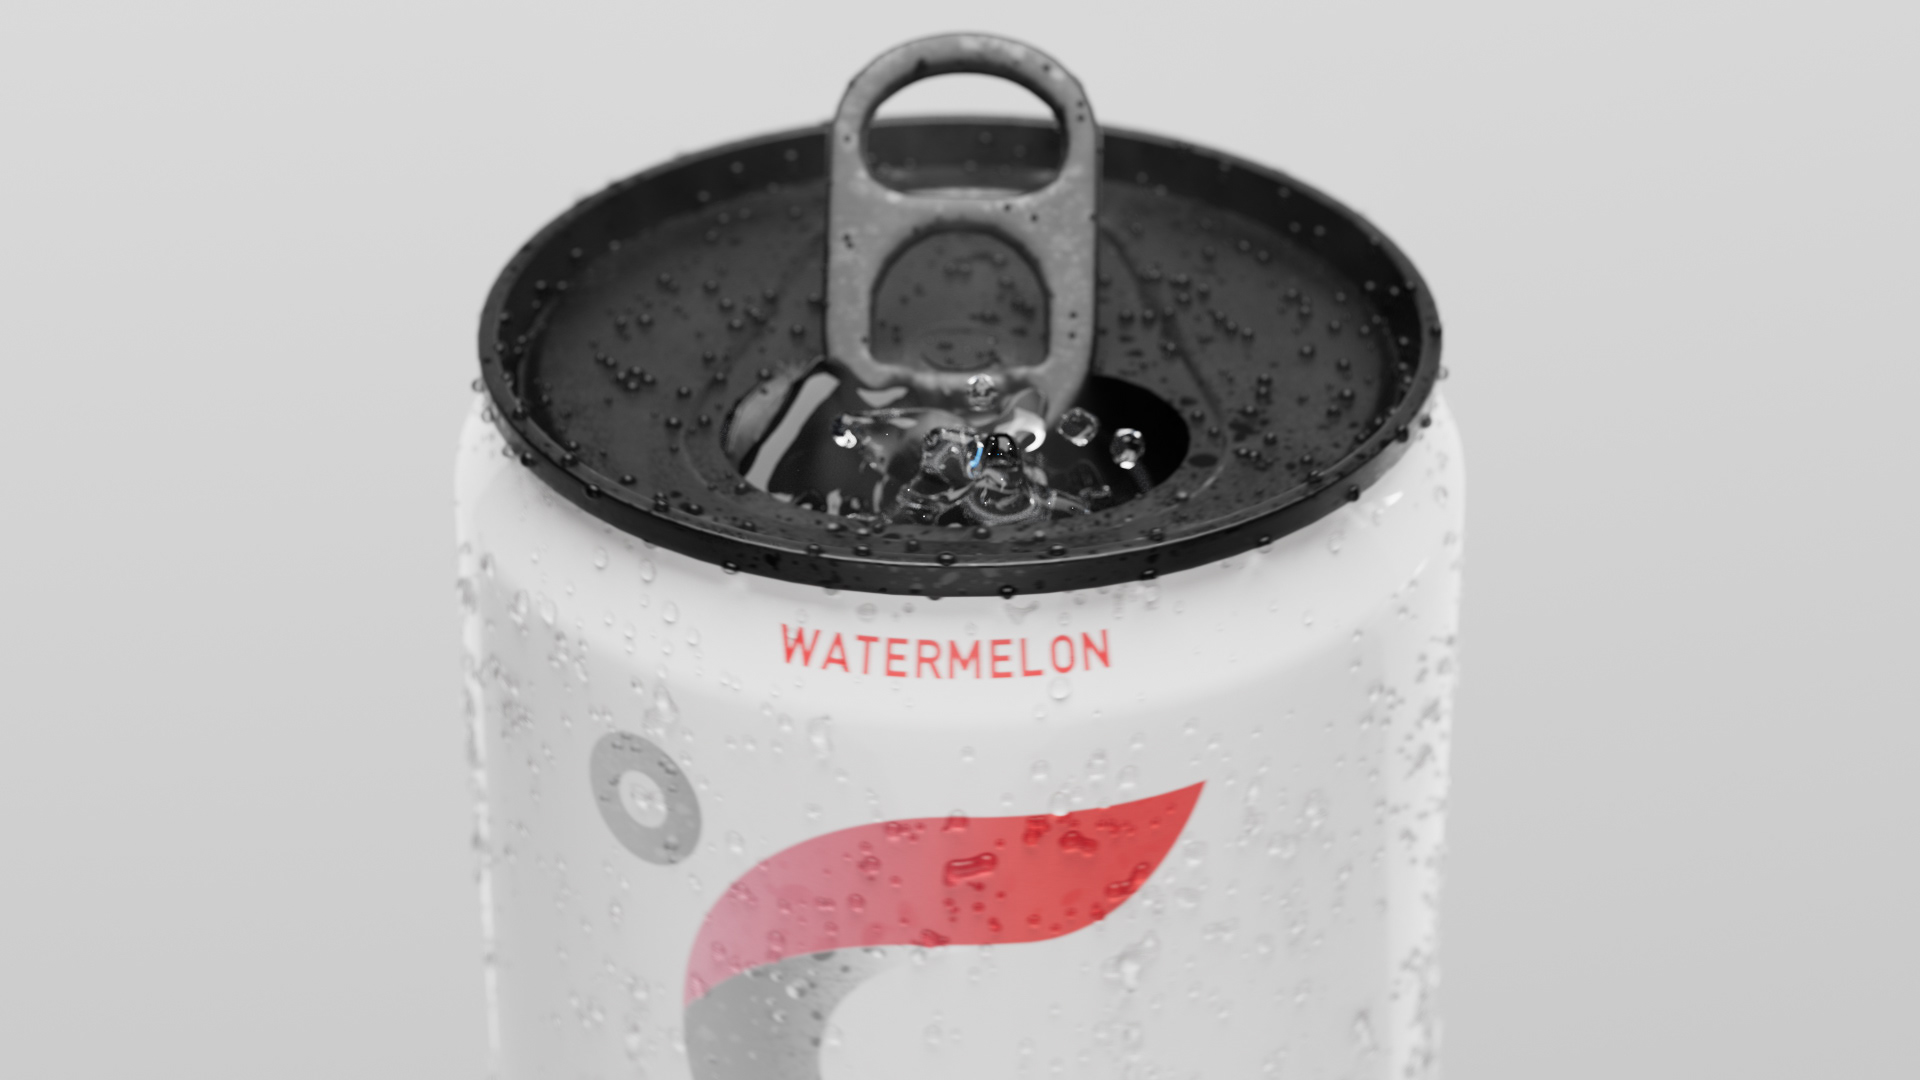
Condensation
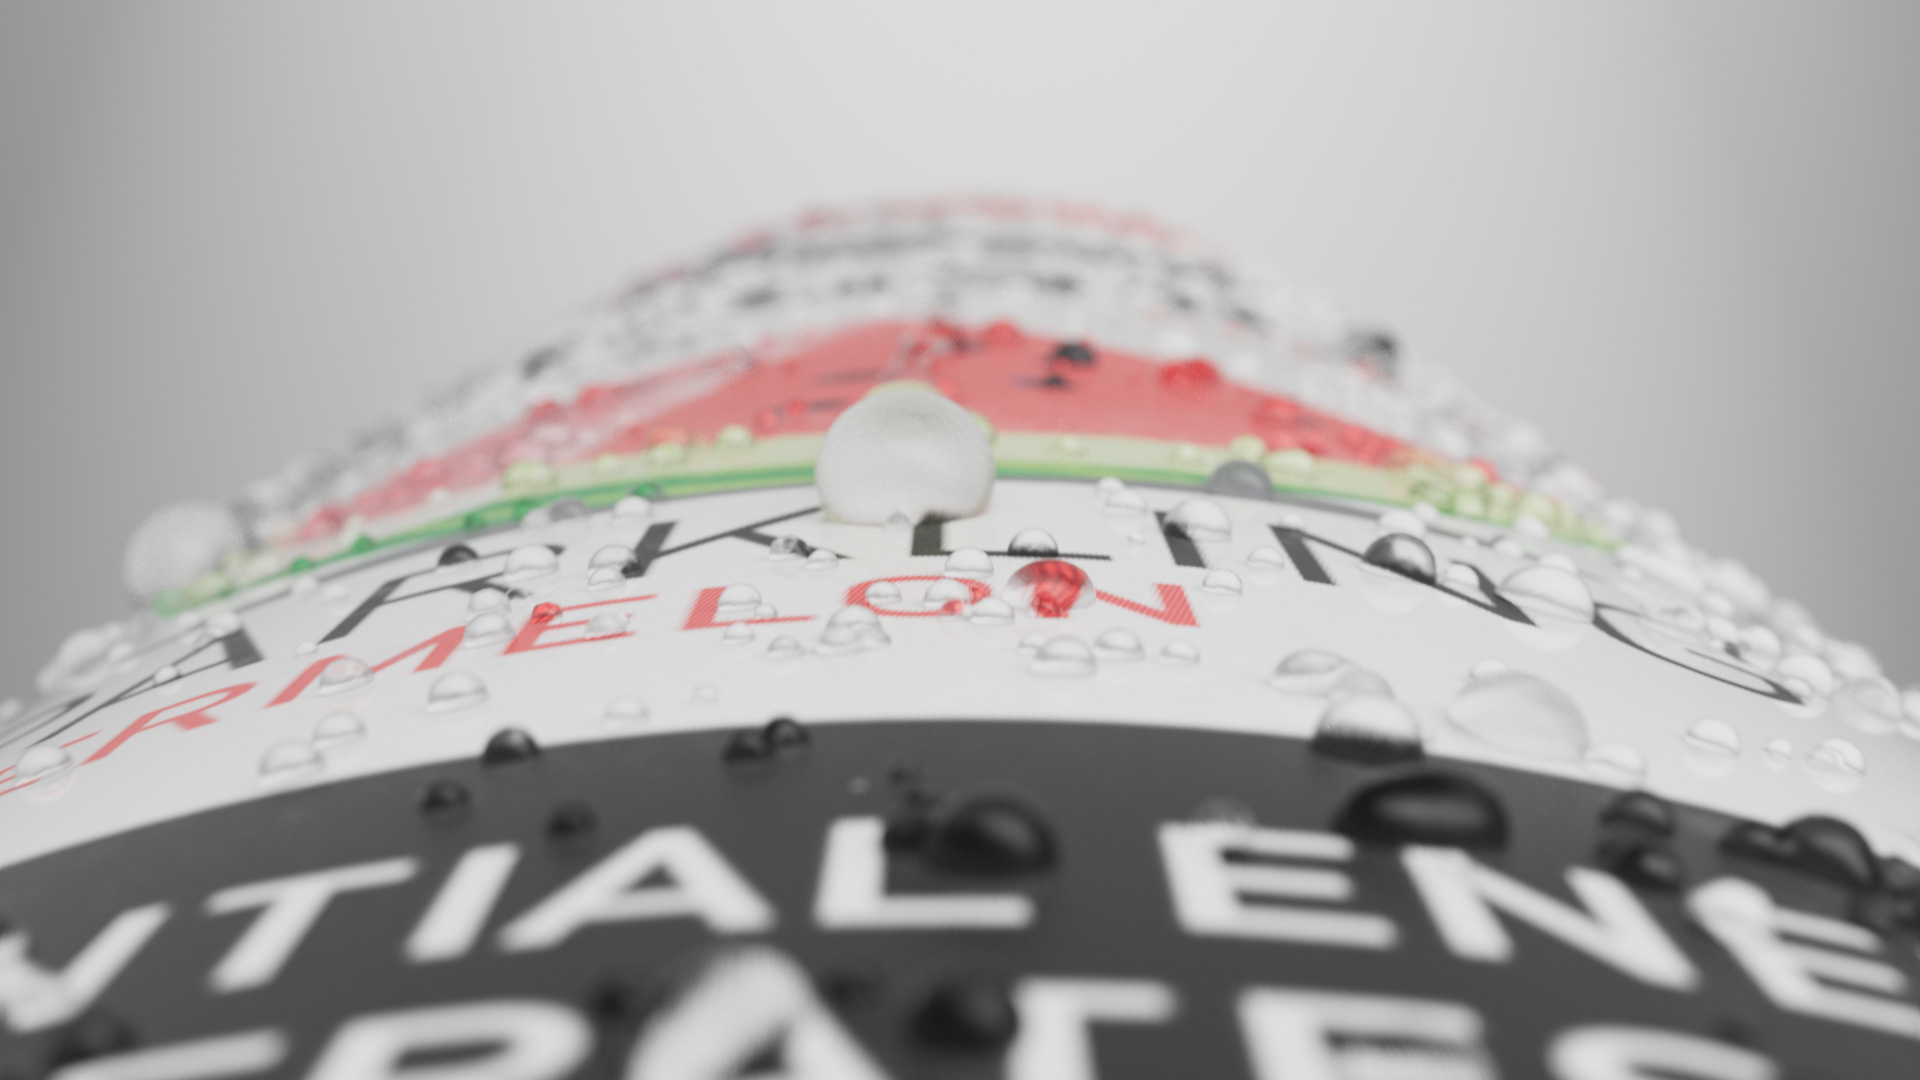
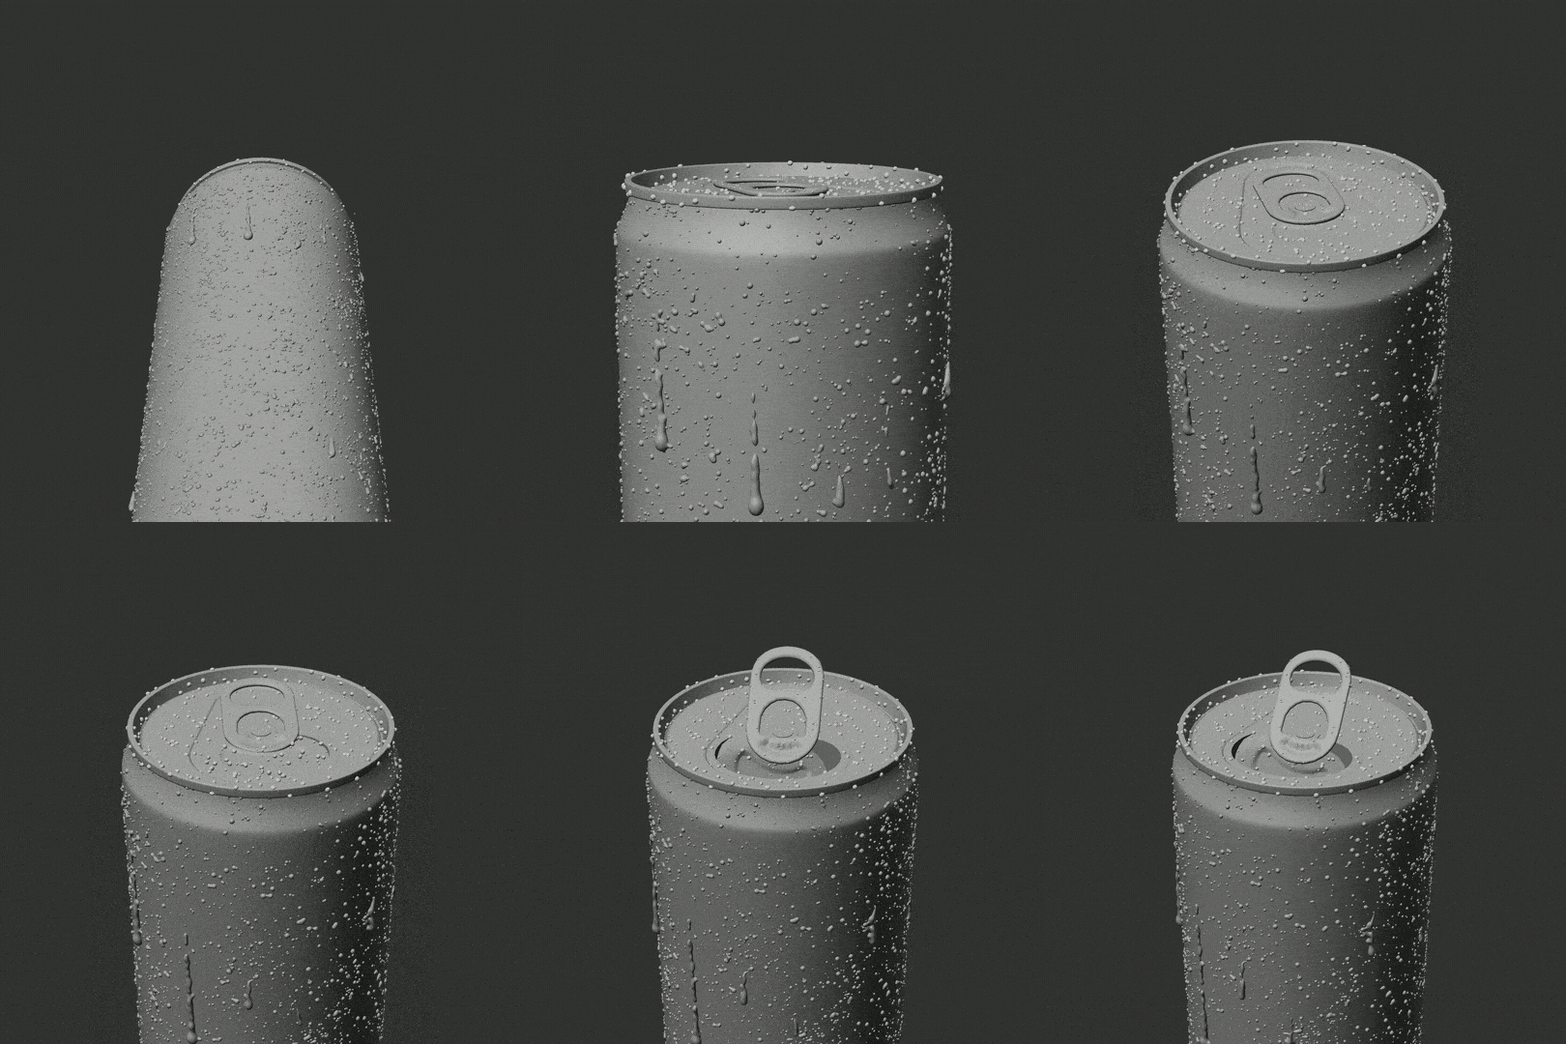
I set out to devise a different method for developing condensation that was more visually advanced than a simple particle or MoGraph cloner setup inside Cinema 4D. I studied the detail on actual condensation cans and tried to incorporate this into my 3D.
There's a distinction you can make in product photography between what is simply a "wet can" and what is actually condensation.
What I noticed is that if you spray a room temperature can down with a spray bottle and get droplets, it looks organic but lacks (pardon my lack of scientific language) a more thorough and complete layer of wetness that a can will develop coming straight out of the fridge into a room with warmer air. My look development focused on a getting it to look closer to that "straight out of the fridge look" if possible.
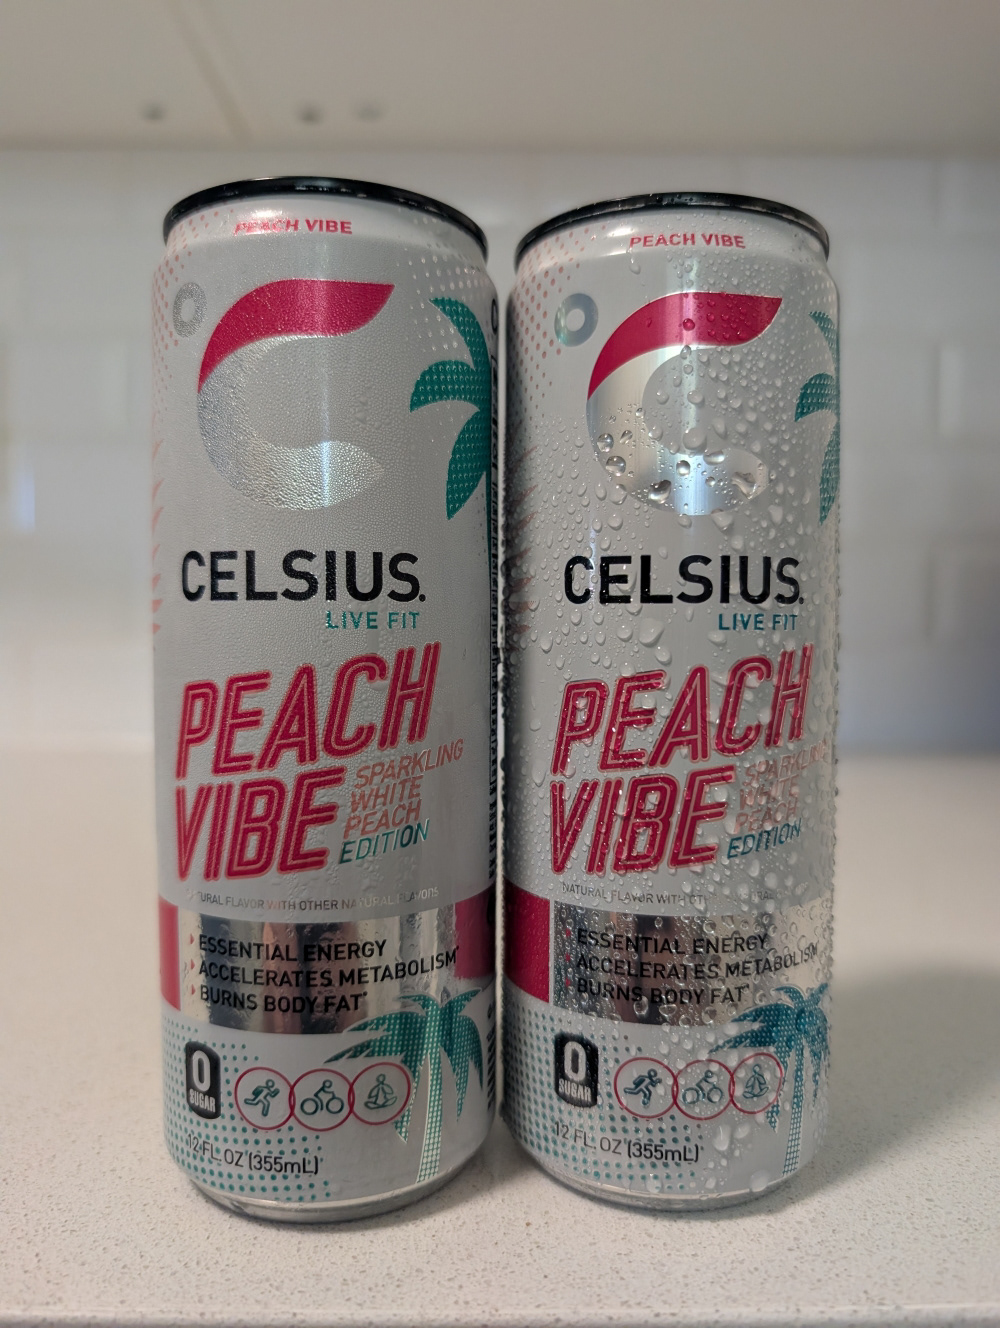
Out of the fridge versus spray bottle
I saw a lot of ideas about developing 3D condensation but never really found an answer I liked. There's the idea of making it at the material level with displacement, which maybe would work alright in some instances but didn't look convincing as a close up. Using just a MoGraph cloner or even a basic particle emitter was better, but it was only cloning a sphere-type object. You could randomize the size and position of the droplets which was nice, but the shapes were lacking a little variety across the surface.
This method struggled in particular if you wanted to add running drips of liquid down the sides of the can. These drips are nice because they add some movement to what is usually a static object, since the cans aren't always moving themselves.The drips were in motion, so they had to be folded in as separate objects from the cloner with the static drops, so they overlapped and thus intersected with each other, which is a less convincing result. When a drip hits and drop, it would look much better if it absorbed it into one.
So the solution here is to build some sort of skin or volume to combine static droplets and moving drips. I ended up using the volume builder for this, I combined pre-rendered drips on the outside of the can, with a particle system that distributed static drops all over the can. When combined inside the volume builder, they skinned the objects together and created a system that worked as one object and you got much better results with the interaction.
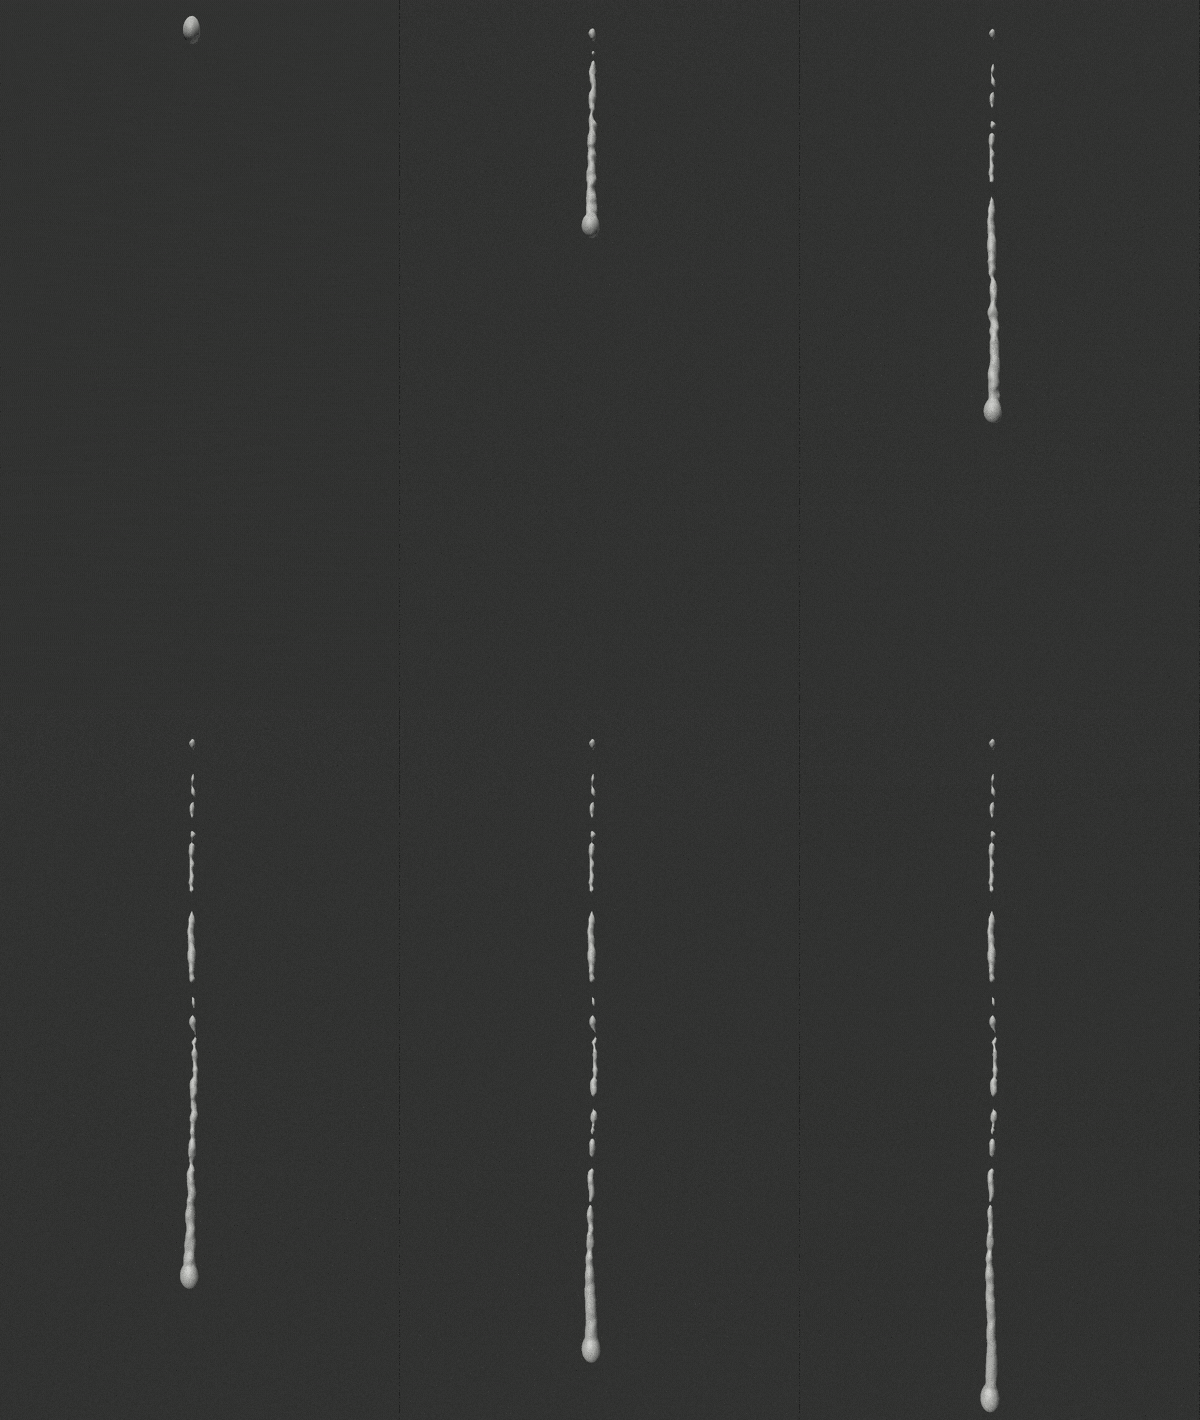
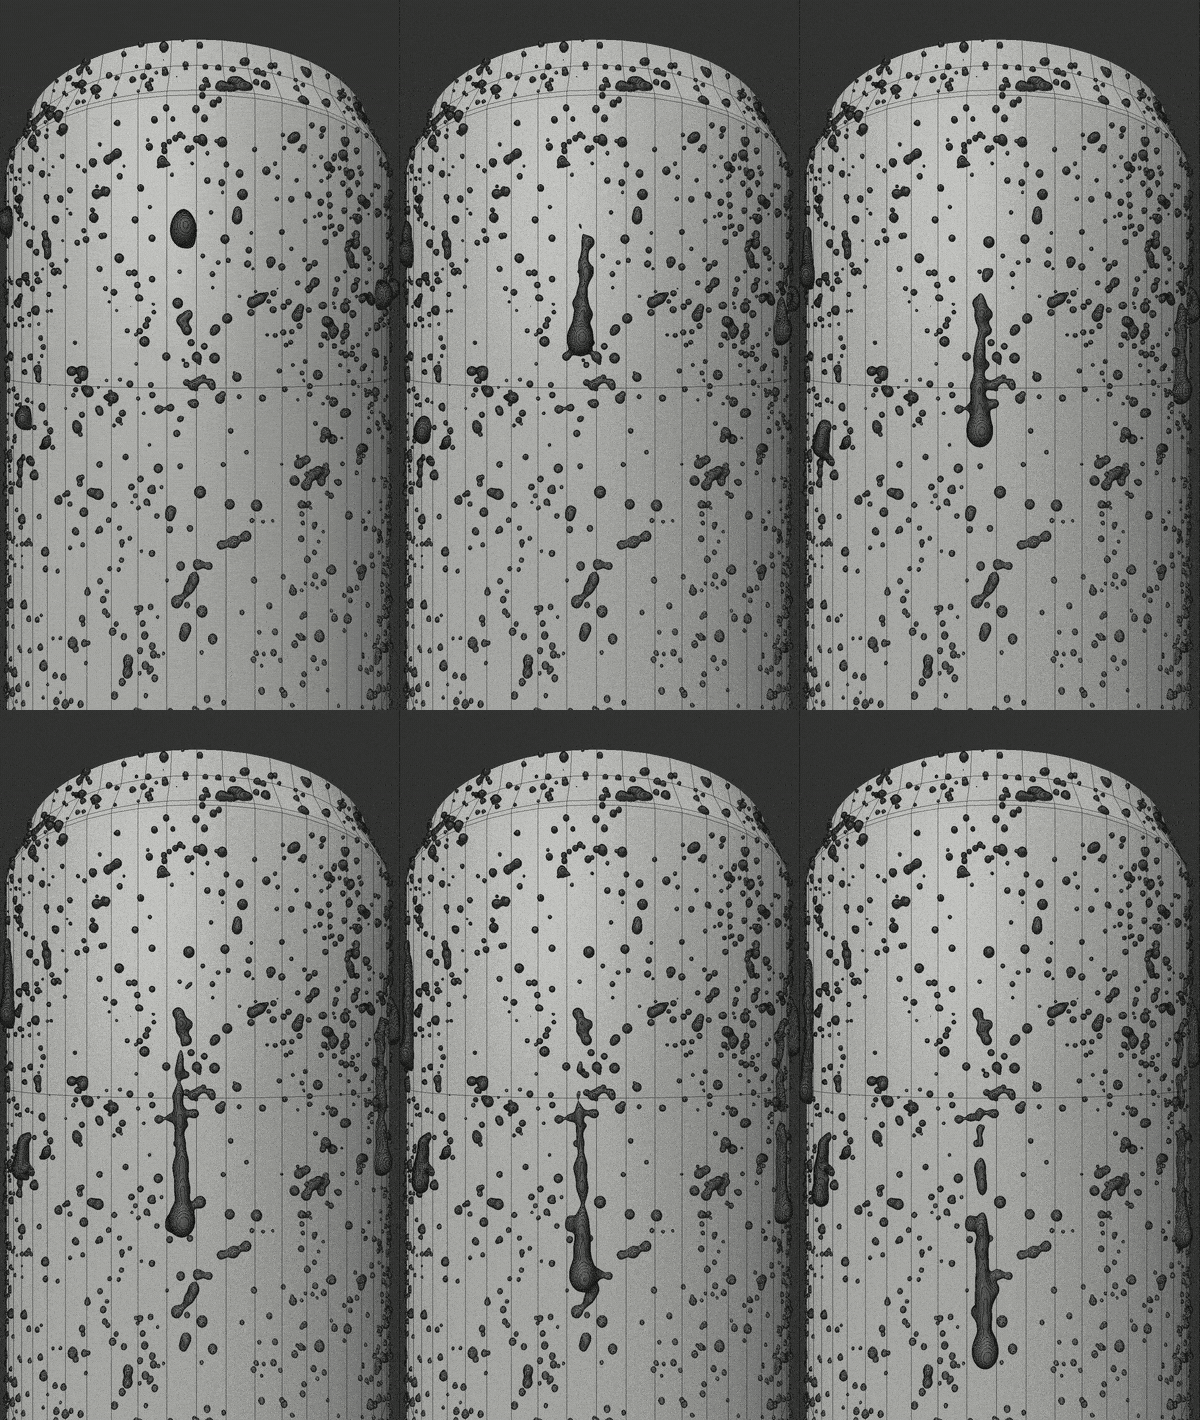
I would export this as as detailed alembic file so I could re-time this and reposition the elements with consistency, rather than randomizing it each time. Technically you can "randomize" it by rotating it around so you get a different look at another part of then drops on the can.
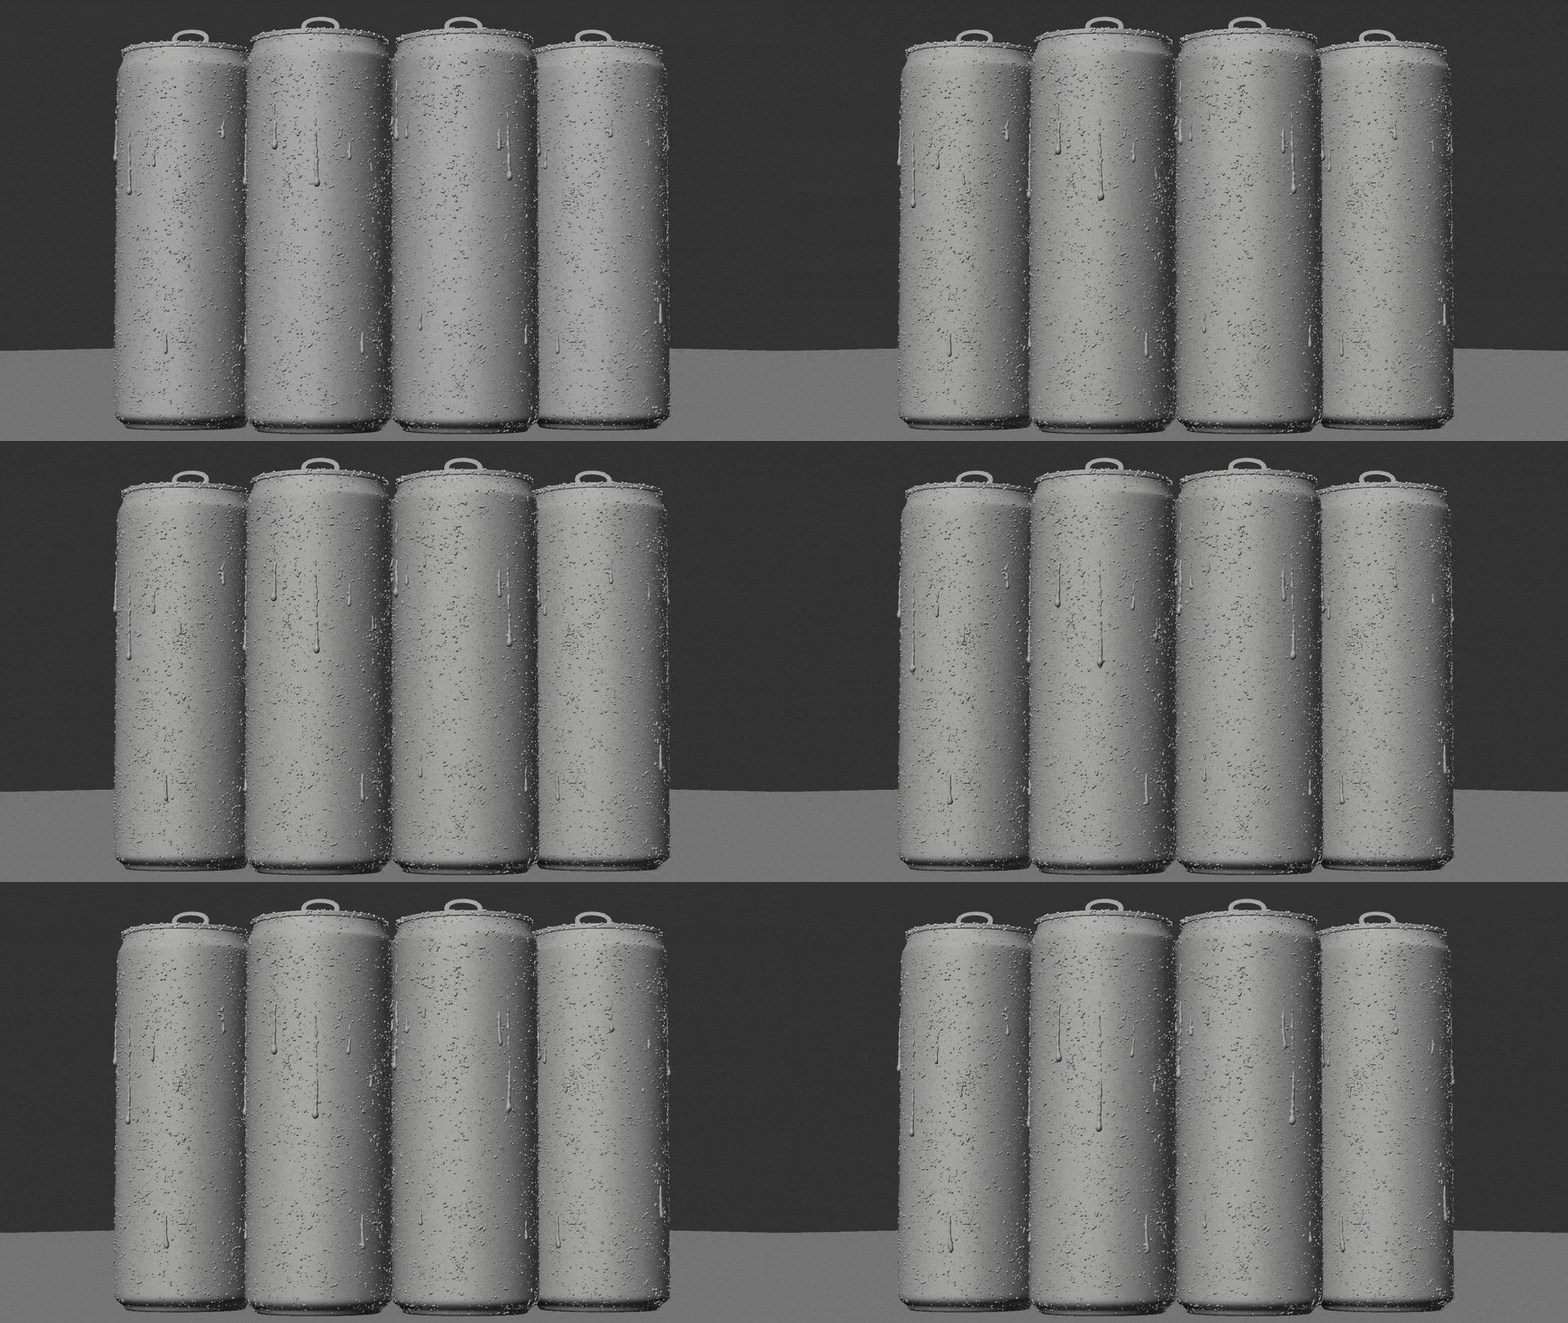
This process certainly takes longer to render, as these meshes have a whole bunch of detail. But there are ways to reduce the volume meshing by upping the adaptive settings, or reducing the voxel size if need be. I found myself be hesitant to settle for quicker, less detailed meshes. Especially with the expectation on getting the drips involved. You could make a simplified smoother mesh but in reality there's ton of detail on condensation like this, so it's a balance between render time and detail, the choice is yours.
Fluids
I explored fluids inside Cinema 4D further as the feature set was built out, I got more comfortable with it working once it became more established. It's really cool getting some believable results natively now, rather than relying on something third-party.
The workflow I tend to aim for any time I do physical simulations is to merge and build different emitters to try and get different components to look and do what you want separately. Physical simulations are harder to art direct and get exactly right with one set of controls, you will struggle to get nuance. In this look I have:
1. An liquid emitter for the main splash, interacting with the can opening.
2. Micro droplets launching as another emitter, just a quick shot.
3. The cold air coming out was done in C4D Pyro.
If you tweak and work on it you can get then to feel cohesive despite then being independent, especially in such a fast shot.
Edit
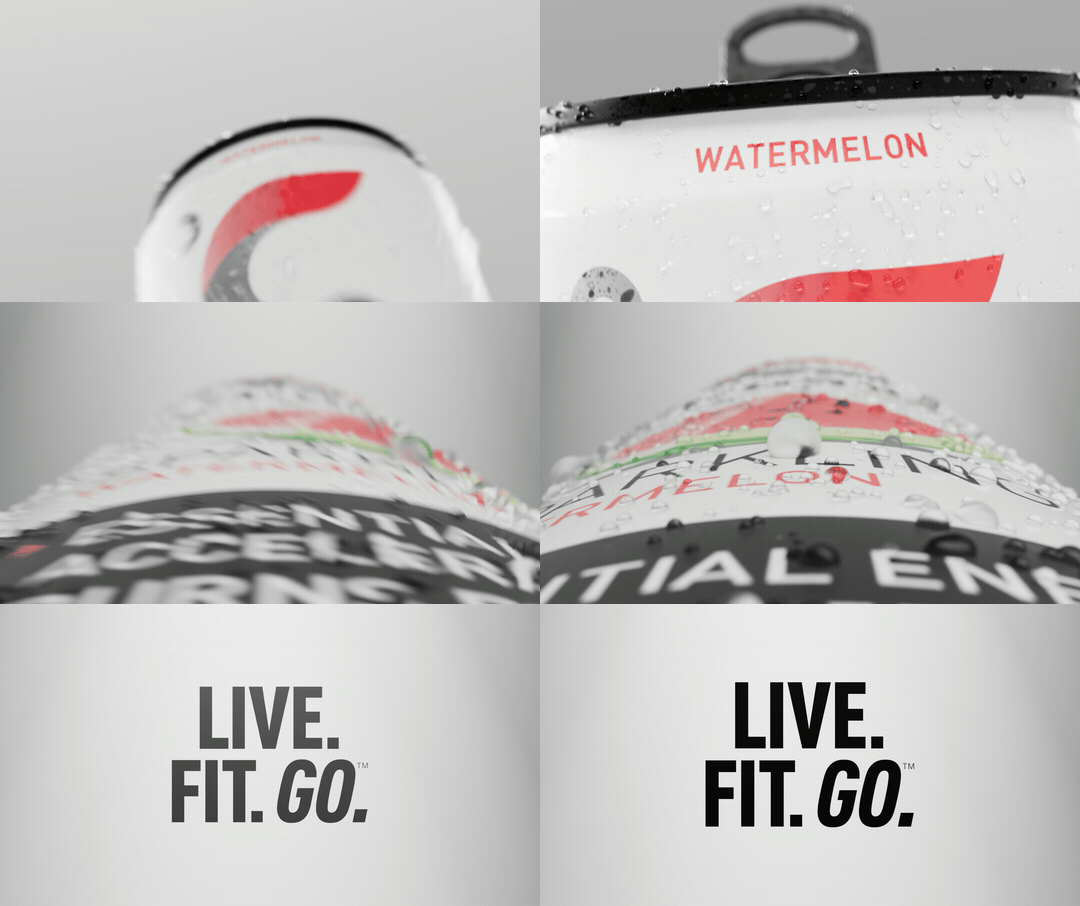
I built an edit that was flexible to swap in any cans and fill a variety of aspect ratios. This helped output media for different tasks. Celsius has a lot of media requests around the world, so having an established edit in place that works for any flavor or country is a huge help. This concept has been on social media, large format screens in theaters, at experiential displays, and probably a bunch of other places I don't even know. The concept has supported the media needs for over half a dozen different countries in the Celsius portfolio.
Conceptually it's supposed to be a high energy edit presenting the basis of the product. I try to capture the product from angles that go beyond typical product renderings or photography. I edit to sound and try to mix in movement across the camera, the product, or both simultaneously. The edit exists with flexibility in mind, as the Celsius portfolio has dozens of different flavors that can be combined together for different marketing purposes. Also some flavors are easier to represent with imagery much more easily than others. It's a higher level, common denominator product visualization.